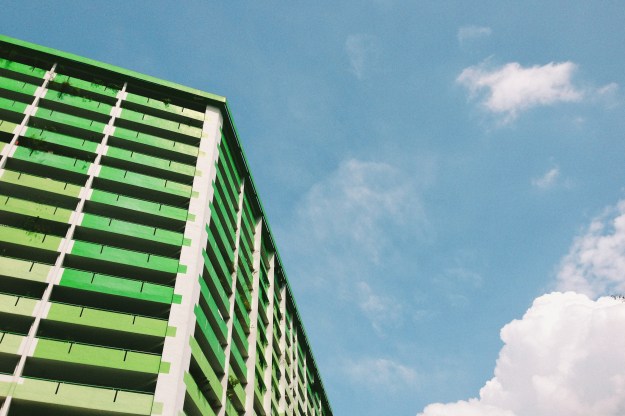
Just a photo from the iPhone 5S and Cortex Cam.

Pacific Rim has a load of digital marketing bits out online, some created by Qualcomm Snapdragon (official microprocessor of the film’s Jaeger robots) on their Facebook page. One of the best is this Jaeger Designer app, which lets you modify a Unity 3D model with different parts and colors, and then render a poster featuring your own country’s robot defender, which you can also name. I think Singapore’s Urban Redevelopment sits nicely alongside the U.S.’s Gipsy Danger and Japan’s Coyote Tango.
Seeing the movie this Friday night in IMAX 3D and pretty damned excited.
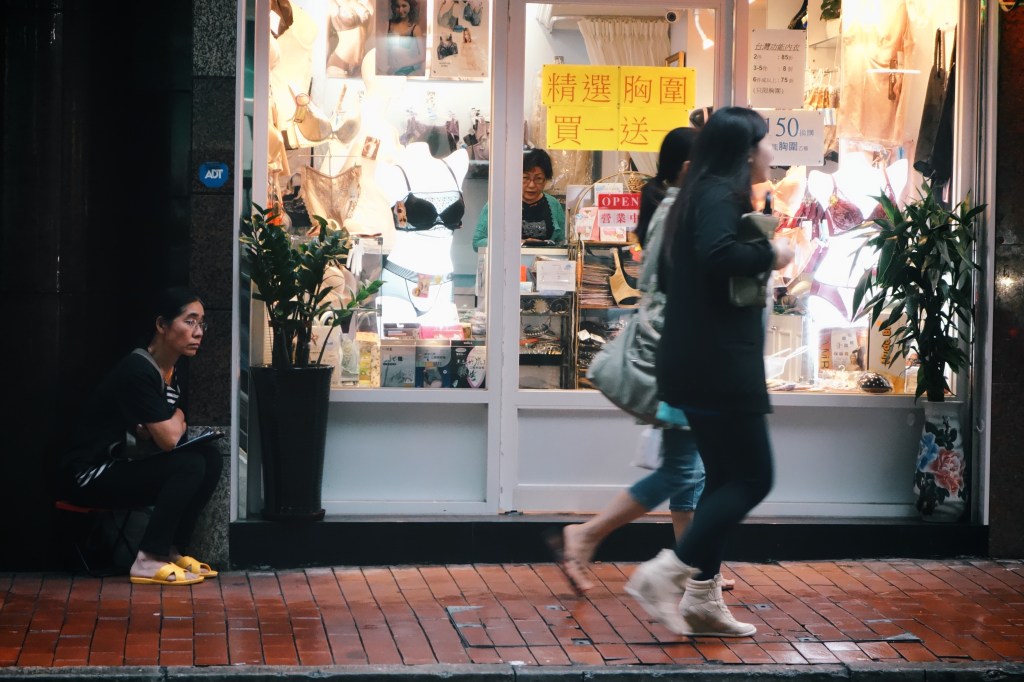
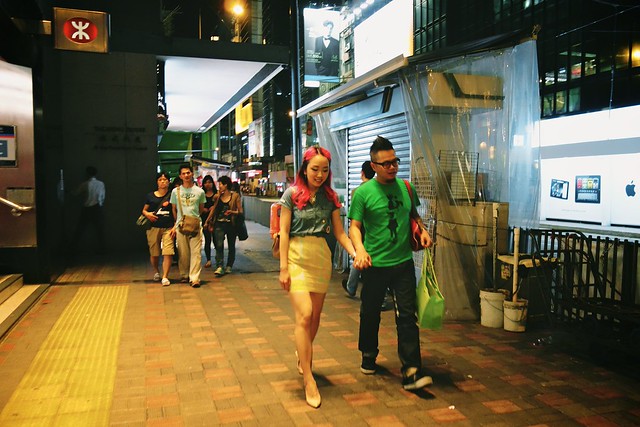
Here are some of my favorite photos from 5 days of eating and sightseeing in Hong Kong; the ones I knew I was lucky to have as soon as I hit the button. As I said a couple of days ago, the Sony RX100 is now my favorite compact camera — just that little bit more versatile than a Ricoh GRD thanks to its 3.8x optical zoom, and, while bigger, still small enough to carry in a pocket. In terms of pure image quality, it takes better photos than any of the small-sensored compacts I’ve fooled around with.
Still, while going through the entire set on Flickr, I was surprised by how many came from the iPhone 5. At this size, can you tell which of the ones below came from an iPhone? Click through to find out.
There are a couple of photos from Art|Basel 2013, which was running at the HK Convention and Exhibition Center (HKCEC) from Thursday to the weekend. One of the low points was sitting at the cafe area and listening to a bunch of very rich people complaining about how their cameras and iPads and iPhone 5s batteries weren’t enough to last through a busy day of buying art (and taking photos of art with the flash on) even after shutting down all the apps by double-clicking the home button (=_=). They also complained that there wasn’t enough art amazing enough to buy on the spot. I wanted to tell them to spend some money on a battery pack over at Wan Chai.


About two weeks ago, I kinda realized that two people I knew online were in a band together, and preparing to put out their first EP. I visited their website, bought the record when it came out, and ended up seeing them live at the Esplanade last Friday. Hear for yourself through the embedded player below.
In addition to Bandcamp, you can get the 5-song collection on iTunes and Spotify.


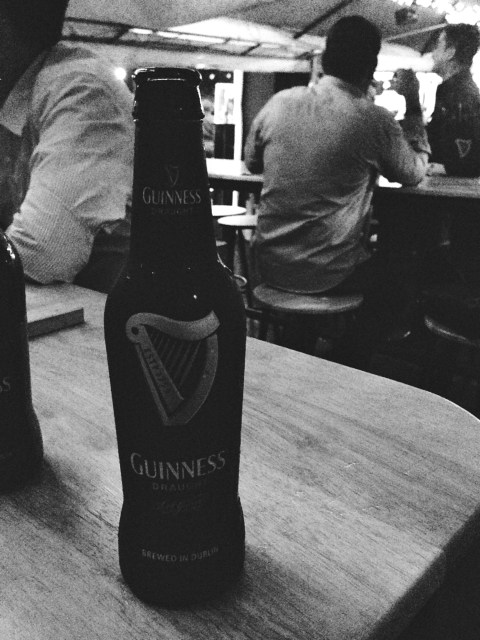
@sangsara: Guinness Draught in a bottle is science at its most amazing. I’m gonna be drinking this all the time. pic.twitter.com/cBCy2ICeei
A couple of days ago, a new bottled version of Guinness Draught was launched locally. My friend and colleague Bert (@bertnert), probably the biggest Guinness fan I know, got me in the door to try a few of them out. As the embedded tweet should show, it’s pretty close to the experience of drinking a ‘surger’ or ‘widget’ can of the stout. Unlike drinking from a pint glass, you don’t get a foamy head but the creaminess is there and quite satisfactory.
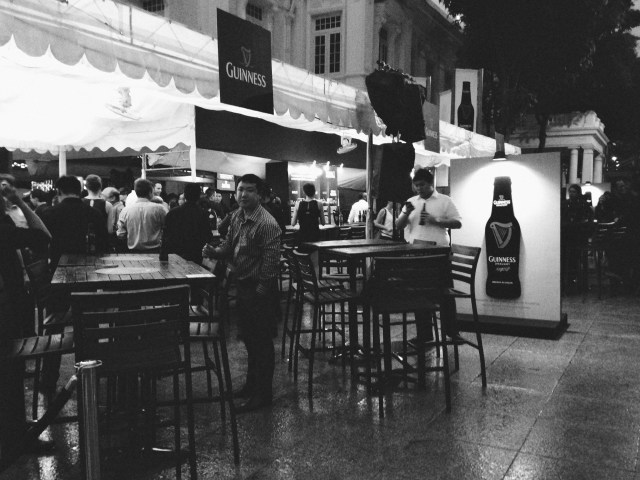
There was also a Guinness World Record attempt going on that night, to see how far a full bottle could be slid down a narrow bar counter. The previous record was 10 meters, and the record was broken, and then broken again by the four plucked-from-Facebook contestants. I think it now stands at around 12.5 meters.


![]()
Occipital’s ClearCam (usually $1.99) was one of my favorite camera apps; it exemplified the kind of surprising software experience that made the iPhone special; an inexpensive downloadable bundle that seemed to change what the hardware in your hands could do: it took photos at a higher quality and resolution than the sensor in the phone allowed.
How? By capturing a burst of photos (5-6) and combining them to average out noise, sharpen edges, and boost light sensitivity with a proven technique called Super Resolution. It was the only app of its kind on the store, and Occipital seemed to know their imaging stuff, having also made the outstanding 360 Panorama (featured in my list of essential camera and photo apps).
It allowed the 5mp iPhone 4 to capture crisp 11mp images, but upon the release of the 8mp iPhone 4S, the app simply stopped working. I never found a replacement, and didn’t believe it would be coming back, thinking the processing requirements of working on an 8mp image were perhaps too much for a phone to handle.
Now, more than a year on, the app has finally received an update. If you have an iPhone 5, you can now shoot at an astounding maximum size of 18mp. The results are far better than if you took an 8mp photo and resampled it in Photoshop. This isn’t a simple resize; even when brought down to the same resolution as a standard shot, it’s a cleaner image being assembled — the fact that it’s also twice the resolution is just the kicker.
The advantage is especially apparent in noisy low-light shots, shown in the 100% detail shots below. Notice how the lines in the larger ClearCam capture manage to be cleaner, and how the smooth surface areas have much less visible noise. The quality of the noise reduction is much higher than you would get from noise reduction post-processing based off a single image. A simple Unsharp Mask operation would improve the ClearCam shot even further.

Over my experience with the app, I’ve found the ClearCam versions are just as usable, if not more so. Outside of photography, it’s extremely handy for whiteboard captures in a work environment.
One of the most exciting advantages of having clean 18mp shots is that it gives you a lot of freedom to crop and still have something the size of a normal shot. It’s almost as good as having a 2x or more optical zoom on your iPhone.
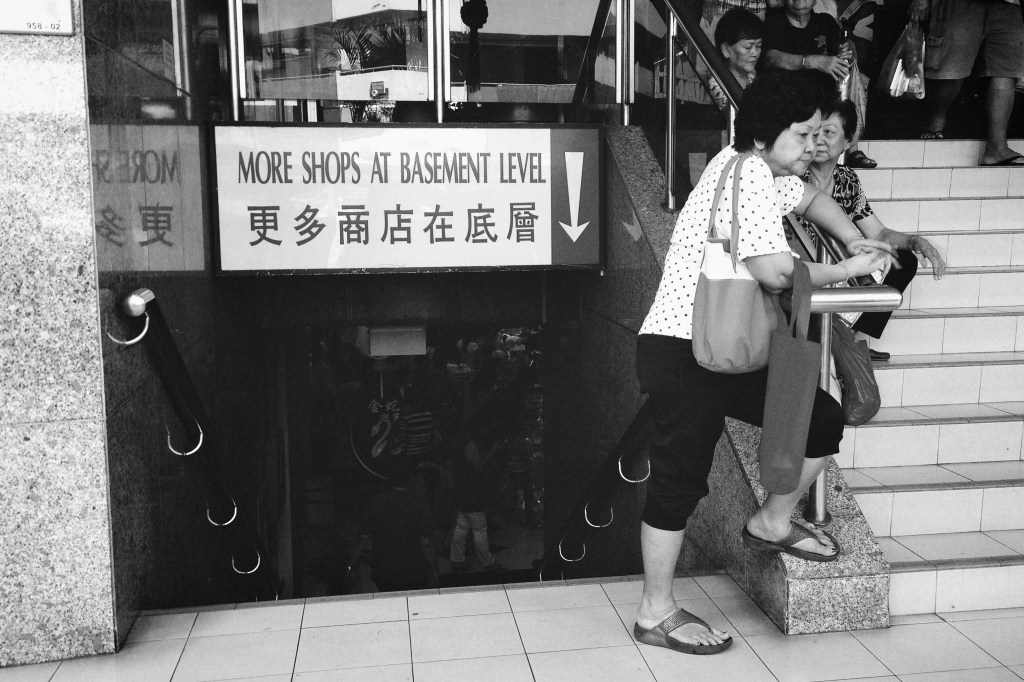
(Above) This was cropped from a wider shot, to frame the stairway (I liked the old-fashioned sign) and old lady leaning on the rails. The final photo is still a generous 11mp!
As long as you don’t have too much movement going on in the shot, ClearCam’s “Enhanced” mode is worth using as your default means of capture. The app also offers a “Quick” mode, which takes 3-4 standard resolution shots in a quick burst, and then analyzes them to save only the clearest, least-blurry photo to your Camera Roll. It’s an alternative to the “Stabilizer Mode” that many other apps offer, where your photo is only taken once your hands are still. Often, when it’s really hard to steady yourself (when it’s freezing, for example), you can be stuck holding your phone for a long time waiting for the shutter to trigger.
Here are some other ClearCam photos I got today, all processed with the excellent VSCO Film 01 & 02 for Aperture.


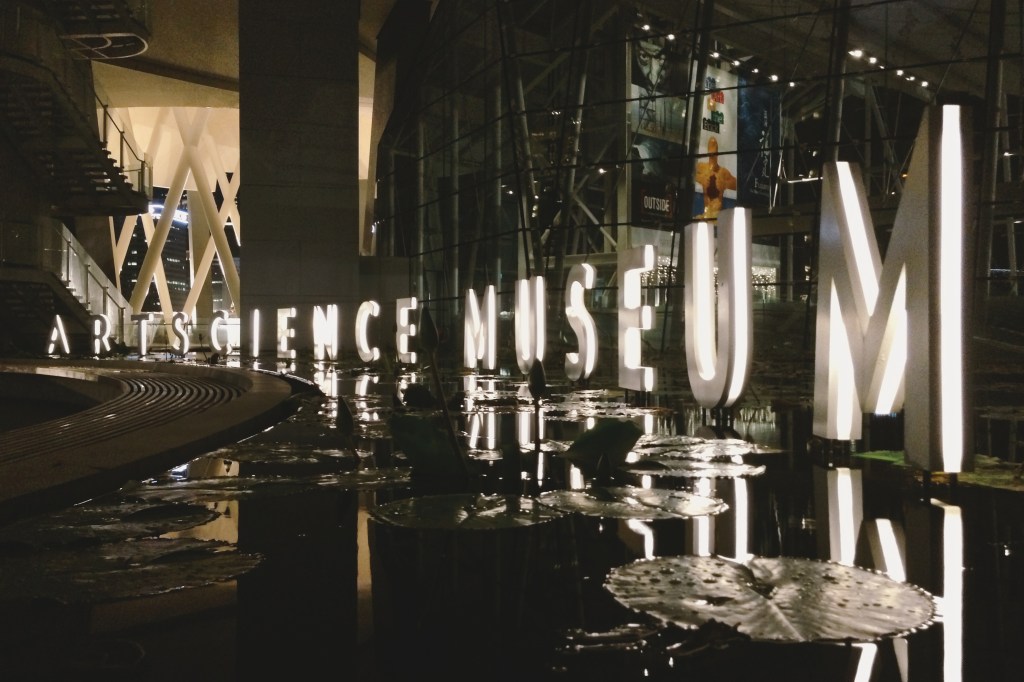
Jan 14 Edit: Replaced the previous indoor low-light shot examples with a better pair taken at the Singapore ArtScience Museum.
Many of us have a soft spot for the look of film photos, whether because of nostalgic associations; or a preference for the grain, faded tones, and color shifts that render the familiar world just a little more interesting. The effort to simulate this in digital photos has lately become conflated with “vintage” effects, where age and strong aberrations are introduced. Those are okay for throwaway shots and fun Instagrammable occasions, but not when a moment deserves quality with a little added character.
As a frequent user of the Visual Supply Co.’s VSCO CAM iPhone app, I knew their VSCO Film preset for professionals using Adobe Lightroom and Apple Aperture were going to be capable of producing subtle film-like looks, and save a lot of time in post-processing to achieve the kind of results I usually want. But there’s a big difference between a US$0.99 app and buying two sets of presets (a handful of finely-tuned settings and slider positions) costing US$79 each.
It’s a no-brainer for the working photographer who shoots weddings and events; VSCO Film presets are the result of people with more time than you, slaving away to find the perfect combinations of color, lighting, and grain to get the most out of photos. You pay to save yourself that Herculean effort, and make it back almost immediately.
The amateur photographer (me) has less incentive to part with their money, apart from curiosity and desire. I don’t even own a DSLR camera. The VSCO presets are very much designed to be used on well-exposed, high quality RAW photos from a DSLR. On holidays, I mostly shoot with high-end compacts like the Ricoh GR Digital, which are capable of saving RAW files, but I’m just as likely to use Point & Shoots or smartphones with small sensors, depending on the situation. Up to this moment, I’ve always chosen to save JPEGs over RAW for the convenience.
I tried to find articles online about whether or not it was worth buying VSCO Film for use on photos from regular compact cameras, but found little in the way of reassurance. The company’s official line was that they would “work”, but an SLR + RAW files was recommended. Being presets, they could not be expected to perform consistently across sources of widely varying quality.
It doesn’t help that the company has a No Refunds policy, and does not make available any demo files for curious customers to judge the results with. Being that they are geared towards professional users using gear I don’t have, I understand my need to see how the presets work with consumer cameras is a unique and unsupported one.
If you’re a Lightroom 4 or Adobe Camera RAW user, there’s a preset in the including Toolkit called “JPEG Contrast Fixer”, which corrects some of the issues you will encounter when processing a JPEG from a DSLR or camera incapable of saving RAW files. As an Aperture 3 user, that option was not available.
Since there’s a sale now on to celebrate the release of VSCO Film 02 for Aperture, which amounts to savings of 25% if you buy both packs, I decided last night to take the plunge and see what would happen. I’ve only had a couple of hours or so to test it out on some old vacation photos, but the results are encouraging.
The bottom line: If you’re not concerned with absolute emulation of the film stocks the presets are designed around — and online sentiment I’ve come across seems to be that their accuracy is subjective anyway — and you merely want to achieve a look reminiscent of film photography, you’ll be perfectly pleased using VSCO Film with consumer compact digital cameras.
The shots below were taken with a Ricoh CX6 and GRD3, and processed only within Aperture using VSCO Film 01 & 02. The trick is usually to boost exposure between 0.3 to 1.0 whilst recovering highlights, and then apply the presets you want. This approximates the default brightness I see in many DSLR photos, while expanding the dynamic range a little. Most compacts I’ve used tend to underexpose by default, with the exception of many a Sony Cybershot.
Even with the knowledge that these can work well for those with lower-end cameras, the usual per-pack price of US$79 (and US$119 for the Lightroom versions) is still going to be a significant roadblock for the casual photographer. Nevercenter’s Camerabag 2 for the desktop is just US$20 and capable of yielding great results too. I just wanted something that integrated with Aperture (non-destructive editing), wasn’t a plugin or app I had to leave the environment to use, and was more subtle. Camerabag’s baked-in presets are decidedly closer to “vintage”, but you are free to tone them down and save your own favorites.
Processed: 
Original: 


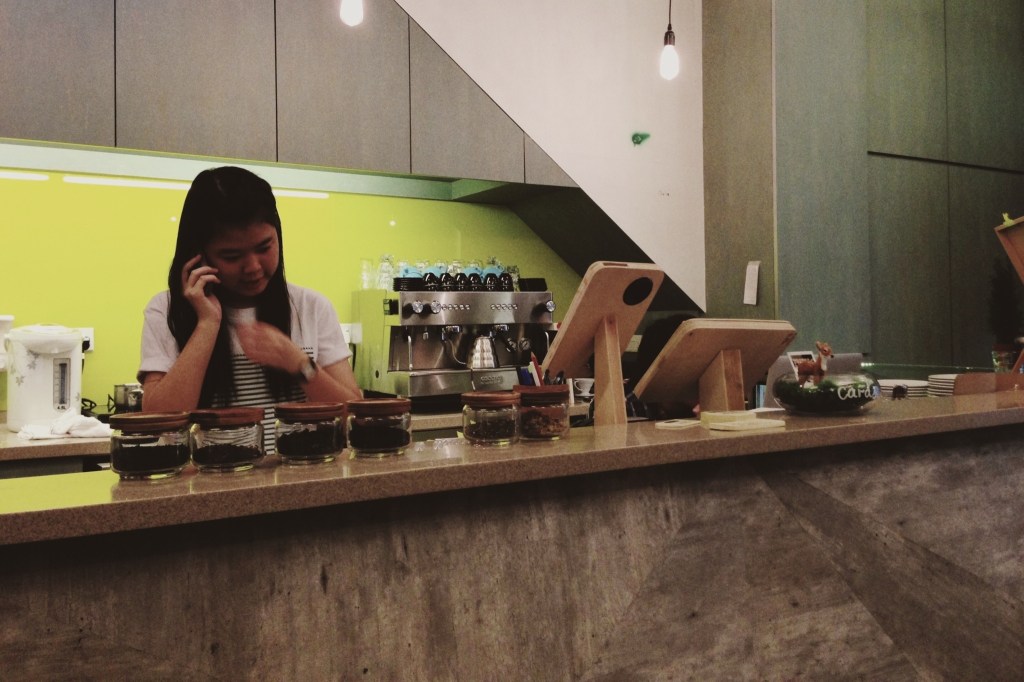
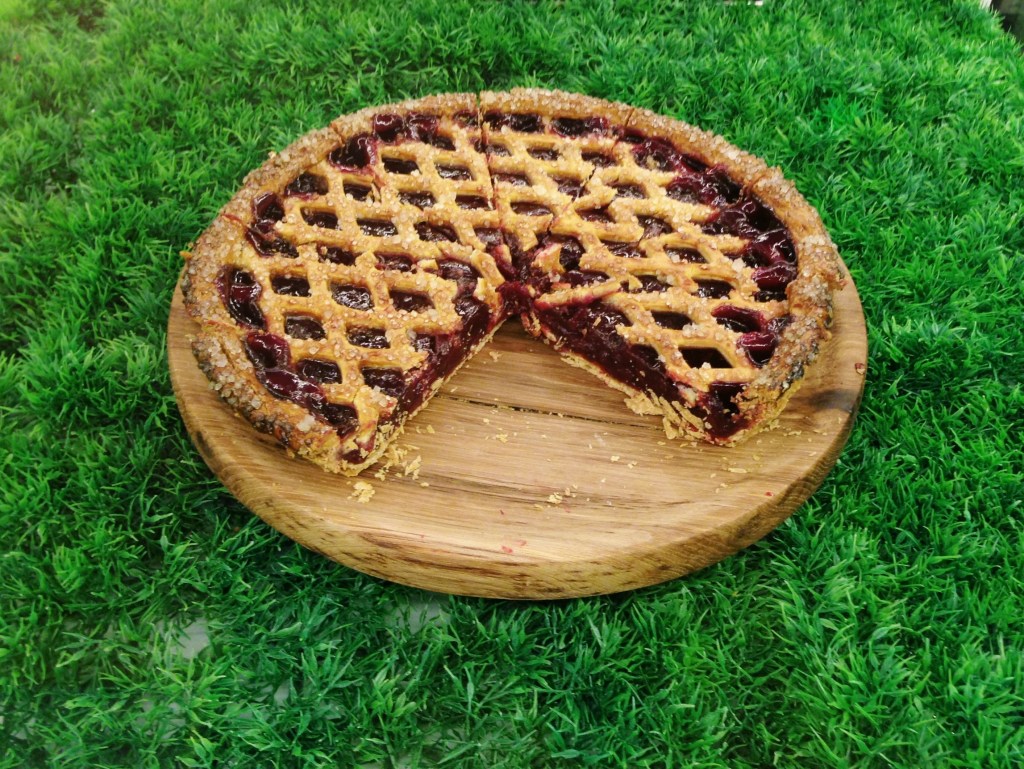
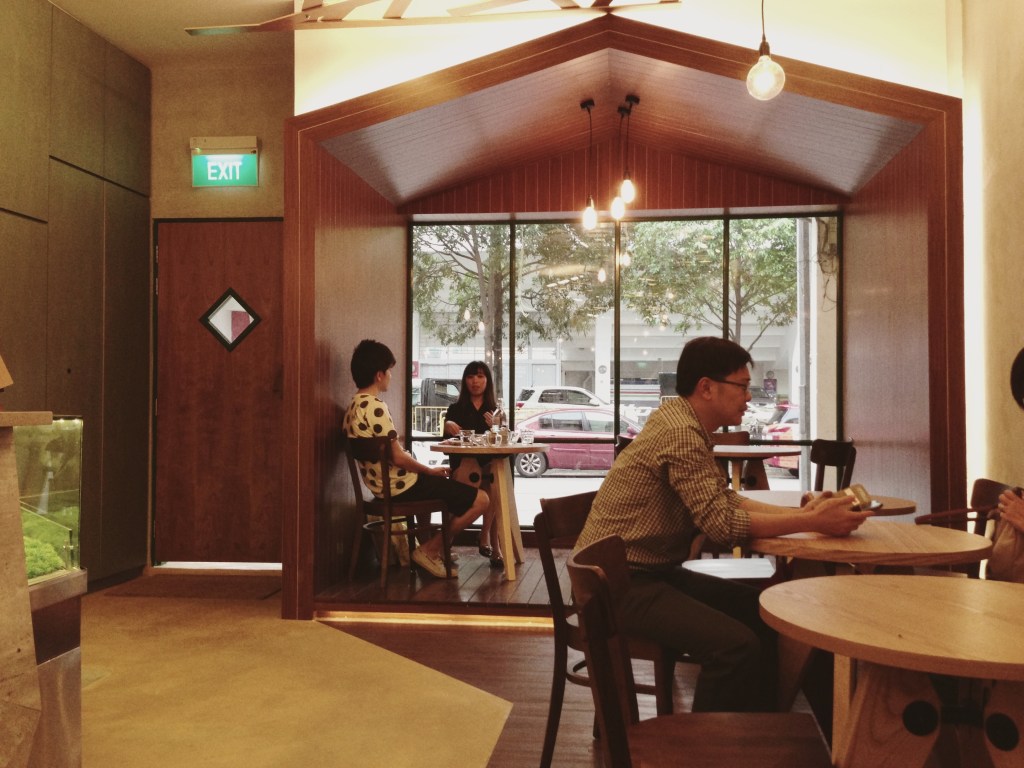
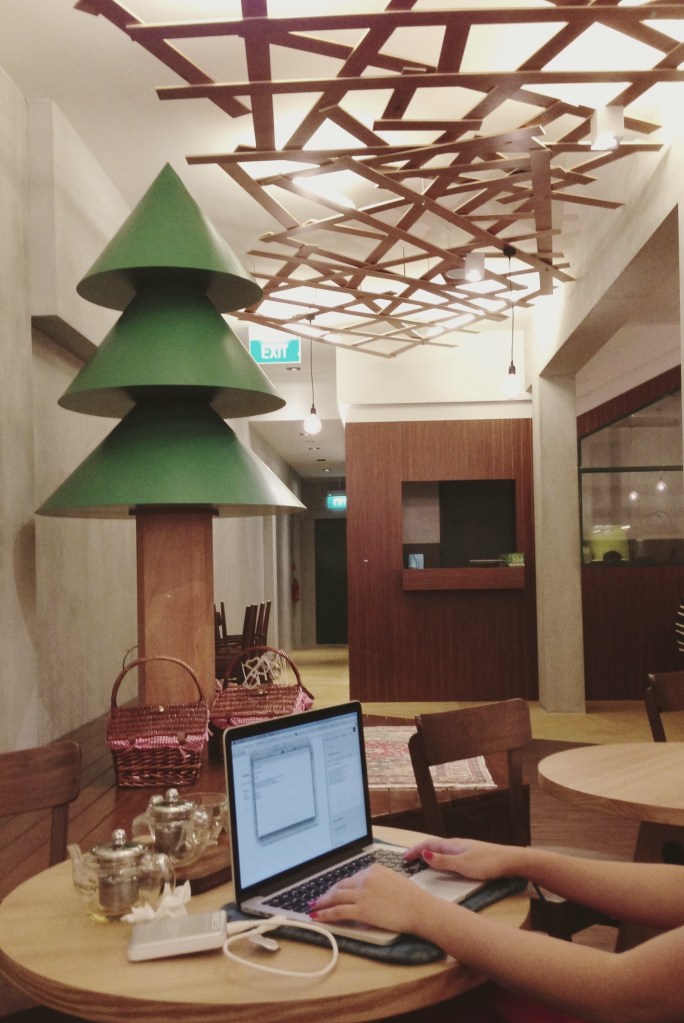
We’ve been fans of Windowsill for awhile, although I’ve only eaten their pies on two occasions before this. They had a tiny outlet in Pandan Valley before, which we didn’t have a chance to visit before they closed down.
Since then, they’ve been operating a delivery business which we recently had a chance to use when an American friend was missing traditional dessert pies (like pumpkin) on Thanksgiving.
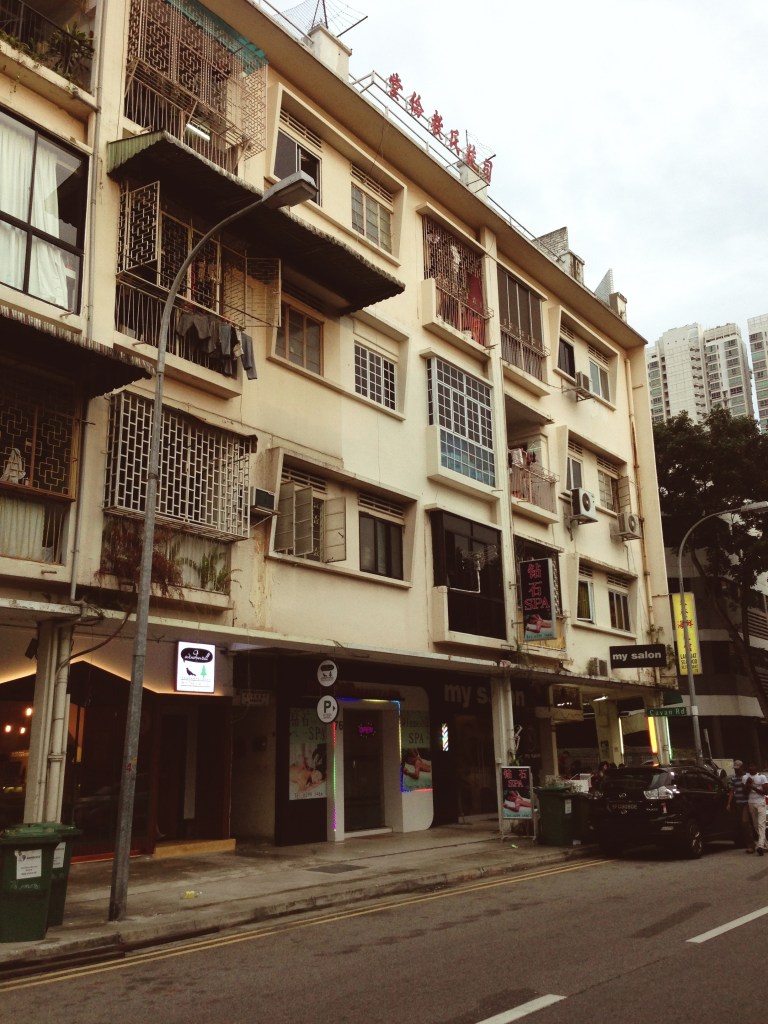
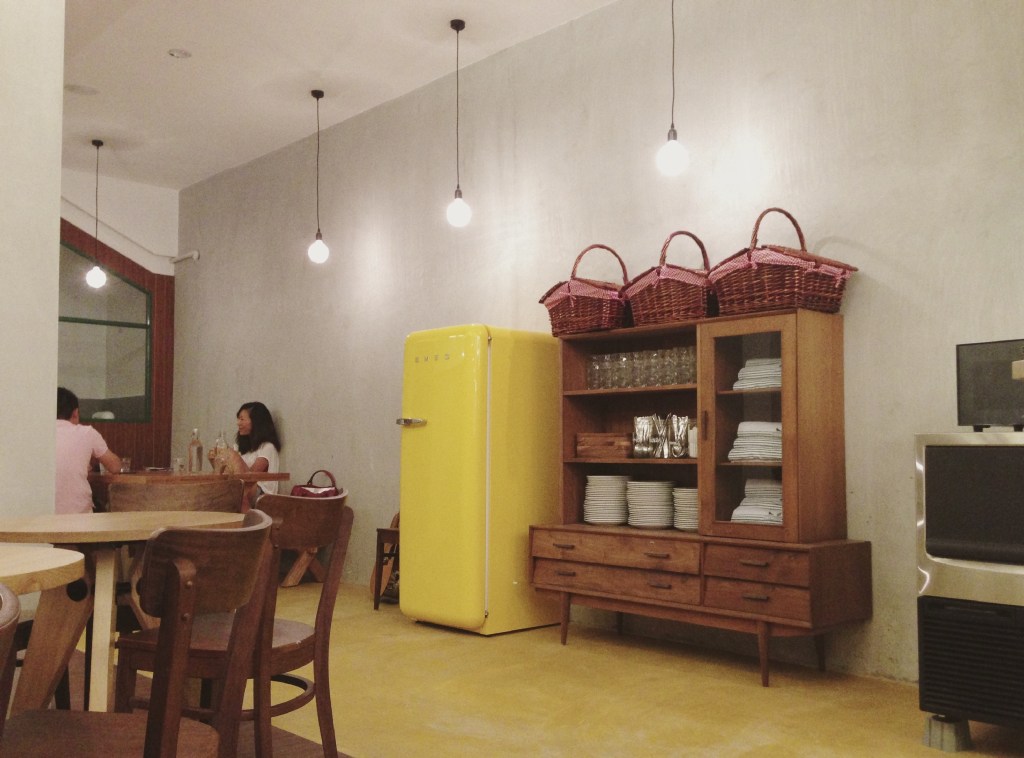
This new place is called Windowsill in the Woods, probably because it’s outside of town in Lavender (78 Horne Road), and has a wood cabin theme going on. The pies are still fantastic, but we didn’t have a chance to try the coffee because they were having electrical issues, and the interiors could do with some acoustic dampening. It looked like they were still sorting some stuff out, but in all, a nice enough place for a quiet Sunday.